23.02.2017
Alexa, please...
After getting the Echo Dot device I looked for a way to trigger a local network control system with the help of Alexa. Unfortunately (or obvious) any Alexa skill needs to have an endpoint somewhere reachable from Amazon. But I do not want to have any security concerns when opening a port for the public.
I ended up building a technology chain that might be interesting for others to use. There are always alternative ways but keeping things simple in the first place I used only AWS in the process.
The basic idea (the tl;dr version)
Starting a new Alexa skill you will get the option to connect an arbitrary endpoint using HTTPS or a AWS Lambda resource. (Right, if you would just open a port and provide a HTTPS service you are done here.) We choose the Lambda endpoint that gives us the possibility to process the order given to Alexa. The Lambda function will connect to an AWS IoT service and publish data to a MQTT topic. From our local network we fire up a client that connects to the same IoT service and subscribes to the topic. Every message that will be recognized by our Lambda function will trigger a message on the topic and we shift the heavy lifting to the local control server.
Implementation of the solution (the long version)
Any (custom) smart home solution can get very complex. To focus on the communication chain instead of solving all problems I decided to use the control of a media center as an example. Basically I just want to pause and play a movie using the remote services. This is just to get an idea what we could do and to have a common mental setup but the control not part of this post.
Alexa skill
First of all we need to create an Alexa skill. Every skill you will create in the developer console will be activated on your Echo device if both are using the same account.
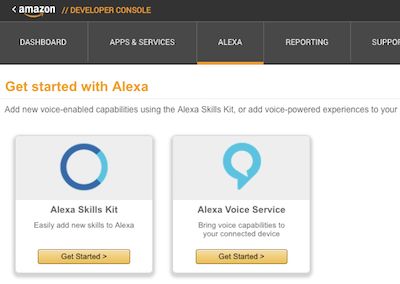
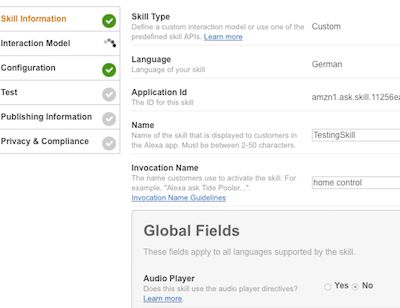
Choose 'Get started' in the Alexa Skills Kit and you will be prompted to insert some basic information about the new skill. The most needed information here is the invocation name. This is how you will make Alexa trigger your skill.
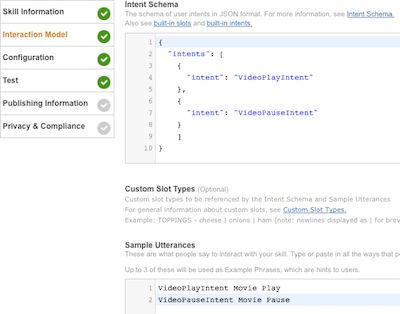
In the next section you define the interaction model you want to provide. For this example I just added two intents that can be triggered and a simple utterance how to invoke them.
Since we do not have any endpoint yet we leave this open and head to the AWS Lambda service...or the Identity and Access Management console first.
IAM (the IoT role)
Background: To write to the IoT service later you have to assign a role that can access the IoT (shadow) device.
Quick guide: Go to AWS IAM, create a new role and attach the policy AWSIoTFullAccess to it.
May be a role with fewer rights is sufficient but I do not want to bother about missing rights in this sample.
And now we create the lambda function...or an IoT service because we will need to configure this in our function.
AWS IoT
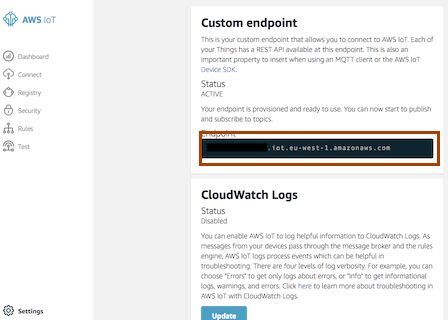
To get a mqtt broker from Amazon is simple. Just visit AWS IoT services and 'Get started'. In the settings section you will find the endpoint information we need later.
Additional we need a certificate later to connect to the IoT service. Click the security menu, choose certificates and click the create button on the top left.
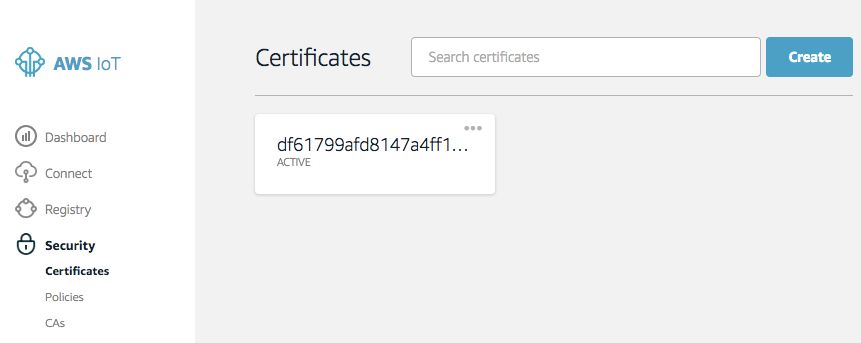
Just click the One-click certificate creation (recommended) in the next screen and you will get all certificate related files needed.
This is all in this service. Now we can finally create our Lambda function.
Lambda function
To create our endpoint just open the Lambda console and create a new function.

As our trigger we select the Alexa Skill.

The next screen is about the name and the programming language you prefer to write your function in. I decided to use NodeJS to reduce the lines of code for this example. Also you really want to select the role created above.
After finishing the setup you got to write real code.
We cannot use the inline editor because our application will depend on Amazon libs.
So we will create the code locally and upload it as zip file including all dependencies.
Let's get started.
Create a folder with index.js and package.json.
The content of the javascript file should be similar to this:
var APP_ID = ALEXA_SKILL_ID;
var AWS = require('aws-sdk');
var Alexa = require("alexa-sdk");

AWS.config.region = IOT_REGION;
var iotData = new AWS.IotData({endpoint: IOT_ENDPOINT});
var topic = "kodi-test";

exports.handler = function(event, context, callback) {
    var alexa = Alexa.handler(event, context);
    alexa.appId = APP_ID;
    alexa.registerHandlers(handlers);
    alexa.execute();
};

function sendToIoT(params) {
  iotData.publish(params, (error, data) => {
      if (!error){
          this.emit(':tell', "ok");
      } else {
          this.emit(':tell', "could not write to topic");
      }
  });
}

var handlers = {
    'VideoPlayIntent': function () {
      var params = {
          topic: topic,
          payload: "play",
          qos:0
      };
      sendToIoT(params);
    },
    'VideoPauseIntent': function () {
      var params = {
          topic: topic,
          payload: "pause",
          qos:0
      };
      sendToIoT(params);
    },
    'Unhandled': function () {
        this.emit(':tell', 'sorry');
    }
};
and the package file like this
{
  "name": "alexa-kodi-skill",
  "version": "1.0.0",
  "description": "Kodi alexa skill",
  "main": "index.js",
  "author": "Gerrit Meier",
  "license": "MIT",
  "dependencies": {
    "alexa-sdk": "1.0.7"
  }
}
Run npm install in this directory and create a zip file zip -r ../alexa_kodi.zip *.
Upload the zip file in the functions code tab.
Remember your function ARN in the upper right for the next step.

Combine AWS services
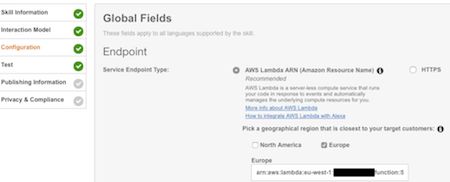
Now we go back to the Alexa skill and add the Lambda ARN to the endpoint configuration.
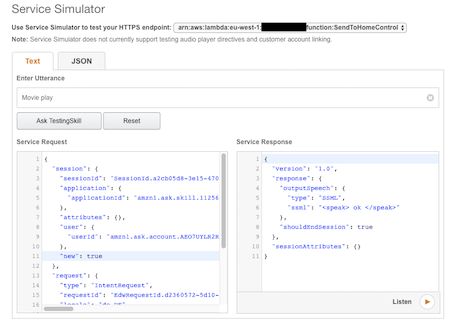
To verify that the communication between the Alexa skill and your Lambda function and the IoT broker works you can select the test option on the left and enter an utterance that should trigger an intent.
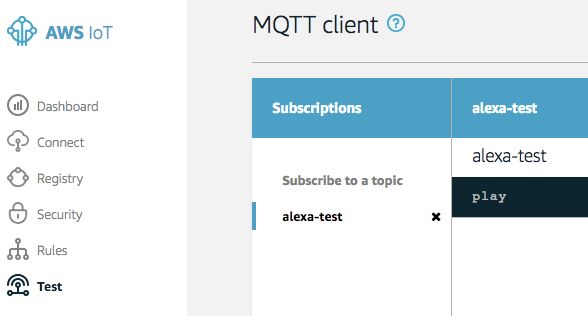
You can also watch the message from your Lambda function to the IoT broker if you open the test section in the IoT console and subscribe to the matching topic. (Please note that the names differs in the screenshot here from the sample names)
Subscribe
In the last step we need to subscribe to the broker from our local network client. To get a quick setup just grab the java starter kit or choose your preferred language. The main benefit of using a starter kit is that you get all the endpoint configuration, key and certificate setup code and can focus on the functionality. Just use the certificate files you created in the IoT console.
In the end the code can be simple as
AWSIotTopic topic = new AWSIotTopic("kodi-test") {
    @Override
    public void onMessage(AWSIotMessage message) {
        System.out.println("The internet called and said:");
        System.out.println(message.getStringPayload());
    }
};
In the next days I will update this post and link to real code samples.